Repair Guide :.
Super Soaker XP 215 Pump Repair
Disclaimer: The following repair guide is provided for informational purposes. Not all these repairs have actually been tested here. iSoaker.com and its affiliates cannot and will not take any responsibility to any damages caused as a direct or indirect result of anything attempted. Use at your own risk/discretion.
By: iSoaker | Posted: 20150409
Note: I did this repair back in March, 2013, but for some reason, never posted all my pictures and steps performed to do the repair.
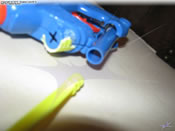
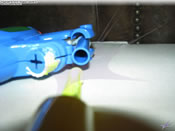
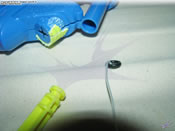
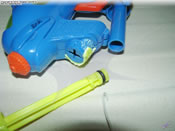
After a winter's break, the spring-like temperatures outside made me want to grab some water blasters and have a little, light water war. I grabbed one of my favorite water blaster, the Super Soaker XP 215, filled it, and began to pump it to pressurize its reservoir. Unfortunately, the pump was very difficult to move, at first. Pumping carefully, but with a little more force, it suddenly became extremely easy to move the pump rod, but pressure was no longer being increased in the reservoir. In an instant, I knew the pump-seal had given up, but was it even repairable? Only one way to find out.
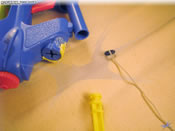
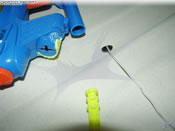
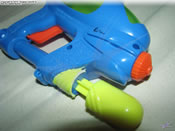
In the end, this repaired Super Soaker XP 215 can once again be filled, pressurized, and used to soak once again! Though forced to rip the pump cap, because of the design of the body frame, the pump rod, itself, thankfully cannot be pulled out by accident during use. Granted, pumping does feel slightly sticky so am not sure whether the O-ring will eventually need to be completely replaced. Also, I am not 100% sure what caused the O-ring to get stuck in the first place, but I have a sense that this particular water blaster was stored in a sub-optimal environment that led to this problem.


